
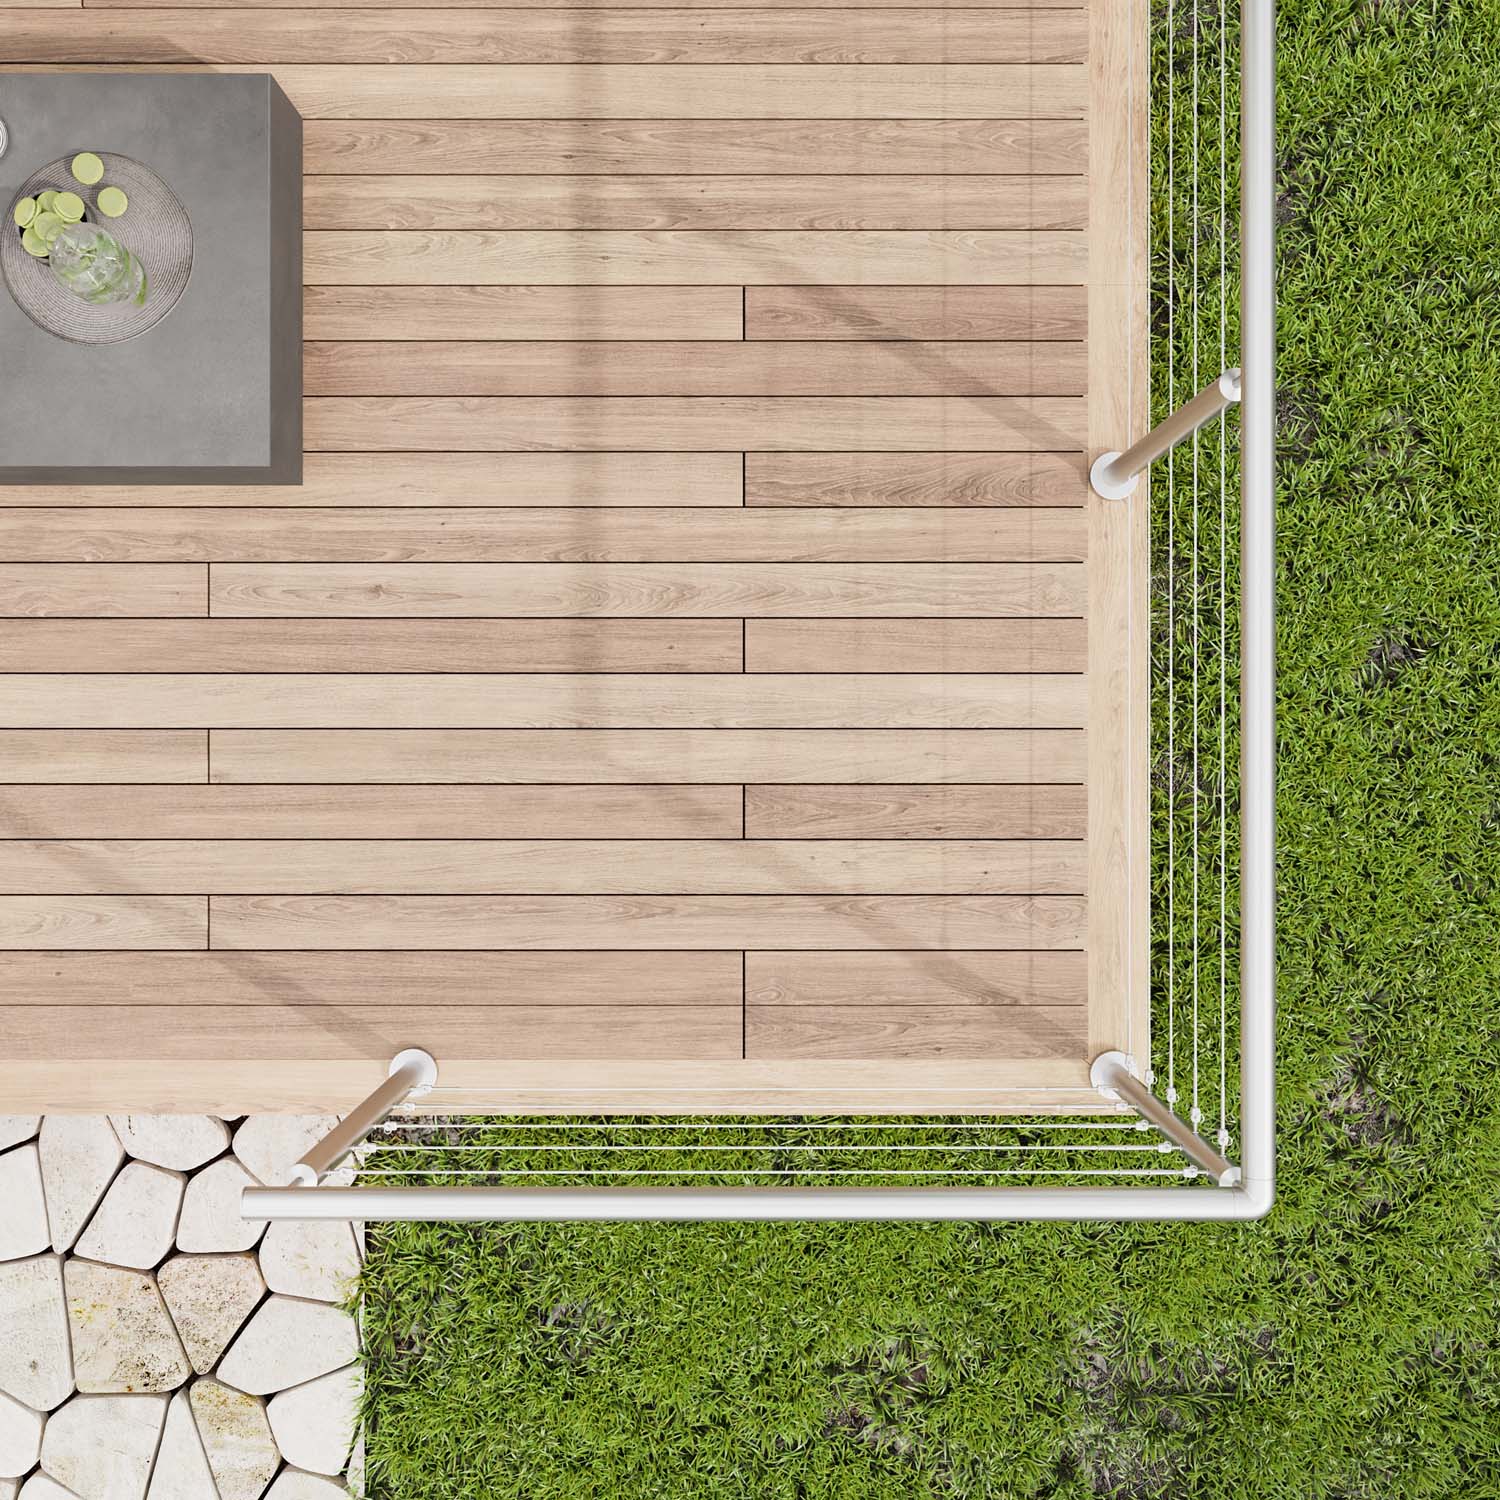
Alfresco – Installation Info
Installation
Whether you’re a DIY customer, or not, installation isn’t something you need to worry about.
All of StairFurb’s AlFresco Balustrade Kits are designed and manufactured with DIY in mind.
Everything is cut to the required lengths, with holes pre-drilled and fixing bolts provided. All you need to do is fit our modular kit following our simple video guides.
The tools needed may vary depending upon the substrate that you are fixing your balustrade. You will need a power drill, screwdriver and allen key.
All kits are bespoke made, so the posts are cut to the correct height, handrails are pre-cut and drilled to fit the saddle brackets on the posts, and the wires are cut and prepped to the required lengths. This makes fitting easy in just a few steps:
- Layout Posts and Handrail. Layout the posts for each section next to the handrail, on the floor. Fix the posts to the handrail using the supplied bolts, through the pre-drilled and riv-nutted holes in the handrail.
- Place Balustrade in Position. Carefully lift the balustrade up, one section at a time (with one person on each post to avoid any twisting) and place it in position.
- Mark and Drill Fixing Holes. Use a suitable pen or pencil to mark the holes on the base fixing plate for each post, then carefully move the balustrade to one side and drill the holes with a suitable drill bit.
- Bolt Down Posts and Run Wires. Place the balustrade back in position and bolt the posts the floor, using a spirit level and any necessary shims to ensure the posts are plumb vertical. Once securely fastened, connect each wire and tension one at a time.
All kits are bespoke made, so the posts are cut to the correct height, handrails are pre-cut and drilled to fit the saddle brackets on the posts, and the glass panels are made bespoke to the required lengths. This makes fitting easy in just a few steps:
- Layout Posts and Handrail. Layout the posts for each section next to the handrail, on the floor. Fix the posts to the handrail using the supplied bolts, through the pre-drilled and riv-nutted holes in the handrail. Then, fit the wooden templates into the lower clamps.
- Place the Balustrade in Position. Carefully lift the balustrade up, one section at a time (with one person on each post to avoid any twisting) and place it in position.
- Mark and Drill Fixing Holes. Use a suitable pen or pencil to mark the holes on the base fixing plate for each post, then carefully move the balustrade to one side and drill the holes with a suitable drill bit.
- Bolt Down Posts and Fix Glass. Place the balustrade back in position and bolt the posts to the floor, using a spirit level and any necessary shims to ensure the posts are plumb vertical. Once securely fastened, one at a time, remove the wooden template from the clamps and replace it with the glass panel for that section.
All kits are bespoke made, so the basetrack is all cut to the required lengths, with the correct number of fixing parts, and the glass panels are all cut to the required height and lengths. This makes fitting easy in just a few steps:
- Fix Base Channel Down. Lay the base channel in position and mark the bolt-hole locations using a pen or pencil. Drill the holes with a suitable drill bit, then fix the base channel in position using M12 bolts.
- Insert Components into Base Channel.Place the isolators into the channel (3 per meter) and attach the rigid adjustment bead to the outer edge. Place the slider into the channel with the wings on the inside edge and the slider positioned to the right of the isolator.
- Insert and Align Glass Panels. Insert glass into the channel, put the clamps within the slider wings, and lower to the clip.With the glass angled towards the installer, insert the wedge tools and maneuver the glass into the desired position by hand, using a spirit level.
Slide the clamps to the right, so that the slider is tight. Press the clip onto the clamps and push down into the channel.
Insert the clamp bars and bolts, and tighten them against the channel by unwinding the bolt. Then remove the wedge tool.
Repeat this process for each panel, one at a time. - Add Trims and End Caps to the Base Channel. Apply the trim to the top of the base channel and the end caps to either end of the channel.
- Place The Glass Panels. Starting at the bottom of the stairs and working your way up, place the bespoke glass panels into position (using the spacer block provided to set the correct gap on either side of the glass) in the clamps and tighten the clamps with an 8mm Allen Key.
For customers that don’t want to install our kits themselves, we’ve got local fitting solutions across most of the UK. Use our Find Your Fitter function to see the installation available for your location.
Installation Options
DIY Installation
✓ Includes everything you need to install with basic hand tools.
✓ Easy-to-follow guides for every step of installing your new balustrade.
✓ All components pre-cut and pre-drilled with fixtures and fittings included.
✓ Typically takes less than a day to complete.
✓ You will have the full support of our office and technical teams.
Local Installation Service
✓ Hassle-free installation; usually completed within a day.
✓ Multiple installation options are available to cater to almost all postcodes.
✓ Get assistance with survey and installation, from professionals that know our kits.
✓ Full support is available from our office and technical teams.


Get Started with StairFurb

Request Alfresco Brochure

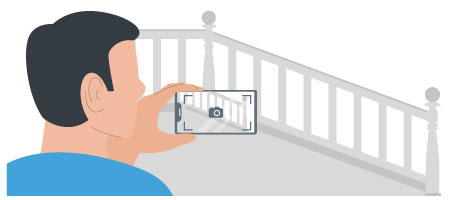
 GET PHOTO ESTIMATE
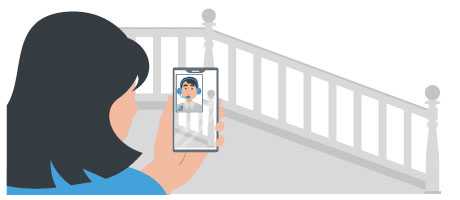
 BOOK CALL NOW
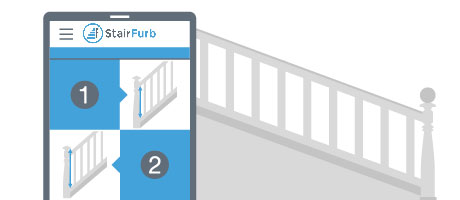
 START DIY QUOTE
 BOOK CALL NOW
 START DIY QUOTE