Don’t miss out!
Days
Hours
Minutes
Seconds
Staircase Fitting Guide
Fitting your new StairFurb glass or spindle balustrades and handrails is designed to be very straightforward, making it an achievable for any capable DIY’er.
Embedded Glass
In a nutshell, this is how simple the fitting process is for embedded glass systems. See the video for full instructions.
Cut and remove existing spindles, baserail and handrails. Use filler and paint the newel posts as necessary.
Place the pre-cut baserail into position and fix it down with the supplied screws, through the pre-drilled holes. Apply some silicone into the length of the channel to help secure the glass.
Place glass panels into the embedded channel, sit the handrail on top and mark handrail position on newel post.
Apply a thin line of silicone along the length of the groove. Place handrail in position and secure it with the supplied fixing components.
Square Handrail & Clamped Glass
In a nutshell, this is how simple the fitting process is for clamped glass system with a square handrail. See the video for full instructions.
Cut and remove existing spindles and (if being replaced) baserail and handrails.
Place the pre-cut baserail (with holes pre-drilled) into position and fix bottom clamps with the screws supplied.
Hold handrail brakets in the correct position and mark the screw holes with a pencil, then drill pilot holes. The handrail bracket heights are clearly shown on the production sheets which are provided with your delivery.
Fix the handrail to the newel posts using the screws provided. The height from the top of the baserail to the underside of the handrail is shown on the production sheets.
Starting at the bottom of the stairs and working your way up, place the bespoke glass panels into position (using the spacer block provided to set the correct gap either side of the glass) in the clamps and tighten the clamps with an 8mm Allen Key.
Round Handrail & Clamped Glass
In a nutshell, this is how simple the fitting process is for clamped glass system with round handrails. See the video for full instructions.
Cut and remove existing spindles and (if being replaced) baserail and handrails.
Place the pre-cut baserail (with holes pre-drilled) into position and fix bottom clamps with the screws supplied.
Hold handrail brakets in the correct position and mark the screw holes with a pencil, then drill pilot holes. The handrail bracket heights are clearly shown on the production sheets which are provided with your delivery.
Fix the handrail brackets to the ends of the handrail and by tightening the grub screw and fix the handrails to the newel posts using the screws provided.
Starting at the bottom of the stairs and working your way up, place the bespoke glass panels into position (using the spacer block provided to set the correct gap either side of the glass) in the clamps and tighten the clamps with an 8mm Allen Key.
Fitting Oak & Steel Spindle
In a nutshell, this is how simple the fitting process is for clamped glass system with round handrails. See the video for full instructions.
Cut and remove existing spindles and (if being replaced) baserail and handrails.
Place the pre-cut baserail (with holes pre-drilled) into position and fix bottom clamps with the screws supplied.
Put a small dab of silicone into each spindle hole in the baserail and then insert the spindles.
Input a small dab of silicone in each spindle hole on the handrail, then place your handrail in position with each spindle inset into it’s corresponding hole in the handrail. Once in position, secure it with the supplied fixing components.
Fitting Spigot Newel Post
We advise that any newel posts are fitted by a skilled professional, as they are integral to the stability of the balustrade system. If you are confident in your ability to safely fit the newel posts and choose to fit them yourself, this video explains how to do so.
Measure 80mm above the stringer (for posts on stair sections) or floor (for posts on landing sections). Use a spirit level to mark a horizontal line around the newel post. Cut the post around this line, using a hand saw.
Use a ruler and pencil to mark the centre point on the newel post stump. Use the 40mm spade bit (supplied with the StairFurb newel post fixing kit) to carefully drill a hole 80mm deep.
- Place the spigot newel post in position and check that it is able to sit vertically. Once happy, insert glue (included in the StairFurb newel post fixing kit) into the hole and place newel post in position.
- Insert screws through the newel post stump, which should pierce the dowel and hold the newel post in position.
- With a newel post spirit level (supplied in the StairFurb newel post fixing kit) held to the post, ensure that the newel post remains plumb vertical whilst the glue sets.
Apply wood filler and sand down around the newel post join. Repeat this process until you can no longer see the join. Then apply primer and paint.
Get Started with StairFurb

Request a Brochure
Request a brochure today to learn more about how our balustrades can transform your stairs into a stunning focal point that elevates your home’s style.

Get A Quote
Ready to revitalise your stairs? We’re here to help you create a stand-out staircase that enhances your space. Get your free quote today to get started.


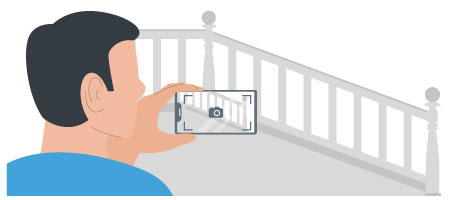
 GET PHOTO ESTIMATE
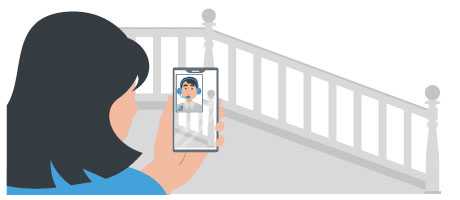
 BOOK CALL NOW
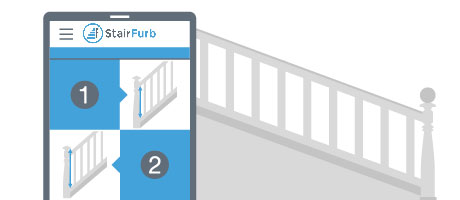
 START DIY QUOTE
 BOOK CALL NOW
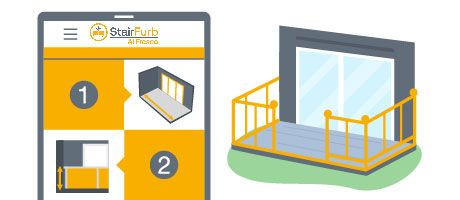
 START DIY QUOTE