


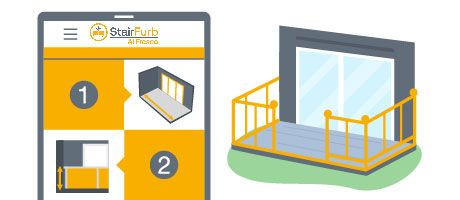
Share pictures of your staircase and we'll provide a quote, plus offer expert help with measurements with a video call.
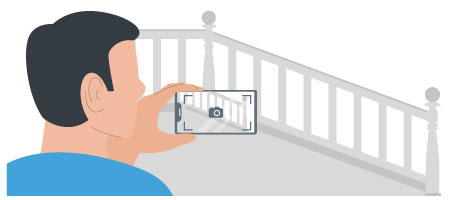
Grab your tape measure and follow our step-by-step video tutorials to get your quote
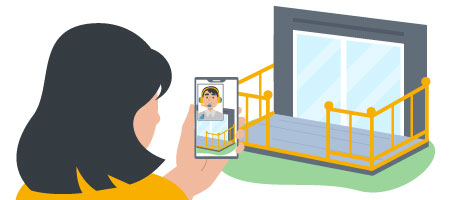
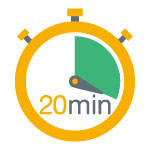
Get help measuring and a free no-obligation quote on a free 20-minute video call from the comfort of your own home. Speak with our expert team about your staircase upgrade.
 BOOK CALL NOW
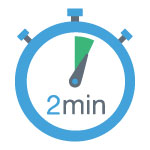
Measure your staircase using our online video tutorials and input them into our online configurator for a free, no-obligation quote. It takes less than 15 minutes.
 START DIY QUOTE
 GET PHOTO ESTIMATE
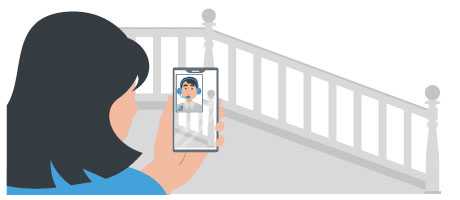
 BOOK CALL NOW
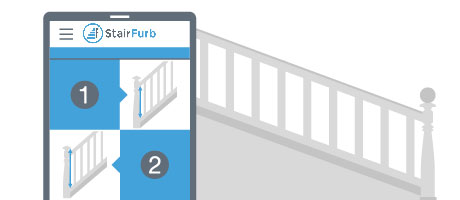
 START DIY QUOTE