
A glass balustrade is one of the most effective ways to open up a staircase and let more light flow through your home. The good news is that fitting one is well within reach for any capable DIYer, especially when you start with a made-to-measure kit that arrives pre-cut, pre-drilled, and ready to install.
This guide walks you through the full glass balustrade installation process for UK staircases. We cover the tools you’ll need, the two main fitting methods, a step-by-step installation walkthrough, what UK building regulations require, and the common mistakes worth avoiding. By the end, you’ll know exactly what’s involved and whether you’re ready to tackle the project yourself.
Yes, in most cases. Modern glass balustrade kits are designed for DIY installation when supplied as a complete made-to-measure package. The key is starting with a kit that’s been cut to your exact staircase dimensions, with components prepared in the factory rather than fabricated on site.
There’s an important distinction to draw here. A bespoke glass balustrade kit comes with pre-cut baserails, pre-drilled fixings, toughened glass panels sized to your stairs, and full instructions. A from-scratch build, on the other hand, requires specialist glass cutting, structural calculations, and professional fabrication.
For a capable DIYer who can measure accurately, drill pilot holes, and follow video instructions, a kit installation on a standard straight staircase is usually a weekend job. You should consider calling in a professional if your project involves replacing structural newel posts, dealing with multiple landings or winders, or making load-bearing changes to the staircase.
If you’d rather not fit the kit yourself, StairFurb’s vetted fitter network can put you in touch with experienced local tradespeople. A free 20-minute video call with the StairFurb team is also available if you’d like help measuring your staircase before ordering.
A glass balustrade installation needs surprisingly few specialist tools. Most of what you need is likely already in your toolkit.
| Tool | Purpose |
| Cordless drill and bits | Pilot holes and securing fixings |
| 8mm Allen key | Tightening clamps on clamped glass systems |
| Spirit level | Checking alignment and level |
| Tape measure | Verifying measurements during installation |
| Pencil and masking tape | Marking positions on rails and posts |
| Hand saw | Trimming any existing components |
| Silicone gun and clear silicone | Sealing embedded channels |
| Suction lifters | Safe handling of glass panels |
| Safety gloves and goggles | Personal protection |
A complete made-to-measure glass balustrade kit will include:
The production sheet is one of the most useful items in the box. It tells you exactly where every bracket should sit and at what height, removing most of the guesswork from the job.
Before fitting any balustrade, it’s worth understanding what UK regulations require. Approved Document K of the Building Regulations covers protection from falling, collision and impact in dwellings, and it sets out the standards your finished balustrade should meet.
The key requirements for a domestic glass balustrade are:
There’s a useful nuance for refurbishment projects. When you’re refurbishing an existing staircase rather than building a new one, you generally only need to comply with the regulations that were in place when the staircase was originally installed. That said, most homeowners choose to upgrade to current standards for safety and resale value.
Worth checking: If your property was built before current regulations came into effect, or if you’re making any structural changes, contact your local Building Control office to confirm what applies. The team at StairFurb’s safety and regulations page covers the most common questions in more detail.
StairFurb’s glass panels are 8mm toughened safety glass, polished on all edges, and kite-marked to BS EN 12150 to meet UK building regulations.
Before installation, you’ll need to decide which type of glass balustrade system suits your staircase. The two main options are embedded glass and clamped glass.
Embedded glass panels sit inside a grooved channel cut into the baserail and handrail. The glass is held firm with silicone, and there’s no visible hardware. This system suits a contemporary, minimal look where the focus is on the glass itself.
Clamped glass uses stainless steel clamps mounted to the baserail and handrail. The clamps grip the glass firmly and become part of the design. Clamped systems are available with square or round handrail profiles, giving you flexibility on the overall look.
You can explore the full range of glass balustrade kits to see how each system looks in real homes.

Here’s the full process for fitting a glass balustrade kit on internal stairs. The steps below apply to both embedded and clamped systems, with notes where the methods differ.
Start with accurate measurements. Confirm the total run length, any landings, and the angle of the staircase pitch. Order your kit cut to these exact measurements, and have your production sheet to hand.
Clear the work area, lay down dust sheets, and remove anything that might get in the way. Glass panels need clear floor space and somewhere safe to lean while you work.
Use a hand saw to cut through the existing spindles and prise off the old baserail and handrail. Take care not to damage the staircase string (the side panels of the stairs) during removal.
If you’re reusing the existing newel posts:
Position the pre-cut baserail along the line of the stair. Fix it down through the pre-drilled holes using the screws supplied.
For embedded glass kits, apply a bead of clear silicone along the channel groove. This holds the glass firm once the panels are fitted.
For clamped glass kits, fit the bottom clamps to the baserail using the supplied screws. The clamp positions should already be marked or pre-drilled.
The handrail goes on differently depending on which system you’ve chosen.
Working from the bottom of the stairs upwards, place each glass panel into position. Use the spacer block supplied to set the correct gap on either side of each panel.
For clamped systems, tighten the clamps with an 8mm Allen key. The clamps should be firm and secure, but not over-tightened. Over-tightening can stress the glass.
Always lift glass panels with two people. Suction lifters make the job significantly easier and safer.
Once every panel is in place, do a thorough walk-through:
For visual walkthroughs of each system in action, the step-by-step fitting videos cover embedded glass, square clamped glass, and round clamped glass systems with full demonstrations.

A few errors come up regularly during glass balustrade installations. Most are easy to avoid once you know what to watch for.
Once installed, a glass balustrade needs very little upkeep. Wipe the panels regularly with a microfibre cloth and a standard glass cleaner to keep them clear of fingerprints and dust. Every few months, run a quick check on the clamps and fixings to make sure nothing has worked loose. Avoid leaning heavy items against the glass or using abrasive cleaners that could scratch the surface. Our guide on how to clean glass balustrades has more detail on the products and techniques that work best.
DIY installation works for most kit-based projects, but there are situations where a professional fitter is the better call. Consider hiring a skilled tradesperson if:
If any of these apply, you can find a local StairFurb fitter through the vetted directory of tradespeople experienced in fitting StairFurb kits.


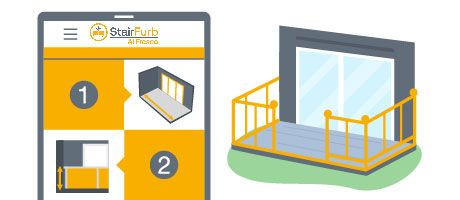
Share pictures of your staircase and we'll provide a quote, plus offer expert help with measurements with a video call.
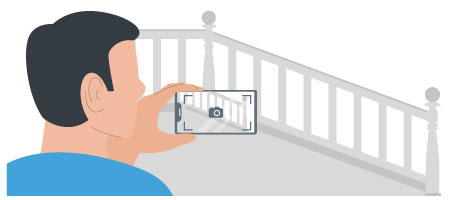
Grab your tape measure and follow our step-by-step video tutorials to get your quote

Get help measuring and a free no-obligation quote on a free 20-minute video call from the comfort of your own home. Speak with our expert team about your staircase upgrade.
 BOOK CALL NOW
Measure your staircase using our online video tutorials and input them into our online configurator for a free, no-obligation quote. It takes less than 15 minutes.
 START DIY QUOTE
 GET PHOTO ESTIMATE
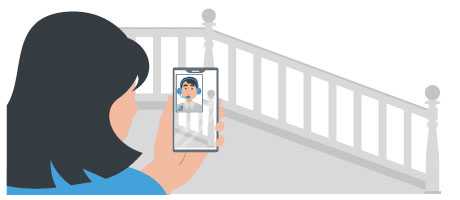
 BOOK CALL NOW
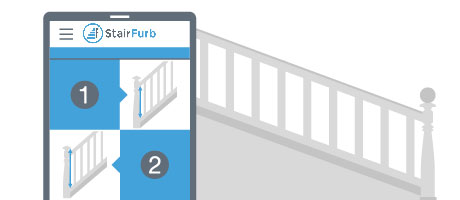
 START DIY QUOTE